

Quick answer: To track isometric training progress, log hold time, perceived effort (or % of max voluntary contraction), the exact joint angle you’re training at, and — if available — force output from a dynamometer or resistance band. Unlike normal lifts, isometric progress isn’t a single number; it’s a combination of these four metrics tracked consistently over weeks.
You hold a wall sit for 45 seconds and have no idea if that’s good, bad, or better than last week. There’s no weight on a bar, no rep count, nothing that looks like the progressive overload you’re used to tracking. This confusion is exactly why so many lifters try isometric training for a few weeks and quietly drop it — not because it doesn’t work, but because they never figure out how to track isometric training progress in a way that actually makes sense.
Table of Contents
Why It’s So Hard to Track Isometric Training Progress
Isometric training is hard to track because the muscle isn’t moving, which removes the two numbers — weight and reps — that normal training logs are built around. A 60-second plank and a 90-second plank both look identical from the outside except for a stopwatch, and that single dimension hides several variables that actually matter for progress.
The real complexity is that “getting better” at an isometric hold could mean several different things: holding the same position longer, holding a harder version of the position for the same time, or producing more force at the same joint angle without changing duration at all. Most training logs aren’t built to capture any of this, which is exactly the gap this guide fills.
What Isometric Training Actually Builds
Isometric training builds measurable strength over time, not just muscular endurance — a 2020 systematic review and meta-analysis published in Frontiers in Physiology found that isometric strength training increased force output by up to 46% compared to baseline, with gains continuing to build across the training period studied.
That same body of research also found that isometric training carries a lower injury risk than many dynamic strength exercises, since it produces minimal stress on the surrounding joint structures — one of the reasons it’s often used in rehab settings after surgery, and one of the reasons it’s worth taking seriously as a training tool, not just a filler exercise.
The 4 Metrics You Need to Track Isometric Training Progress
1. Hold Time
The simplest metric: how long you can maintain a position with proper form before it breaks down. This works well for holds where duration is the primary challenge, like planks, wall sits, or dead hangs.
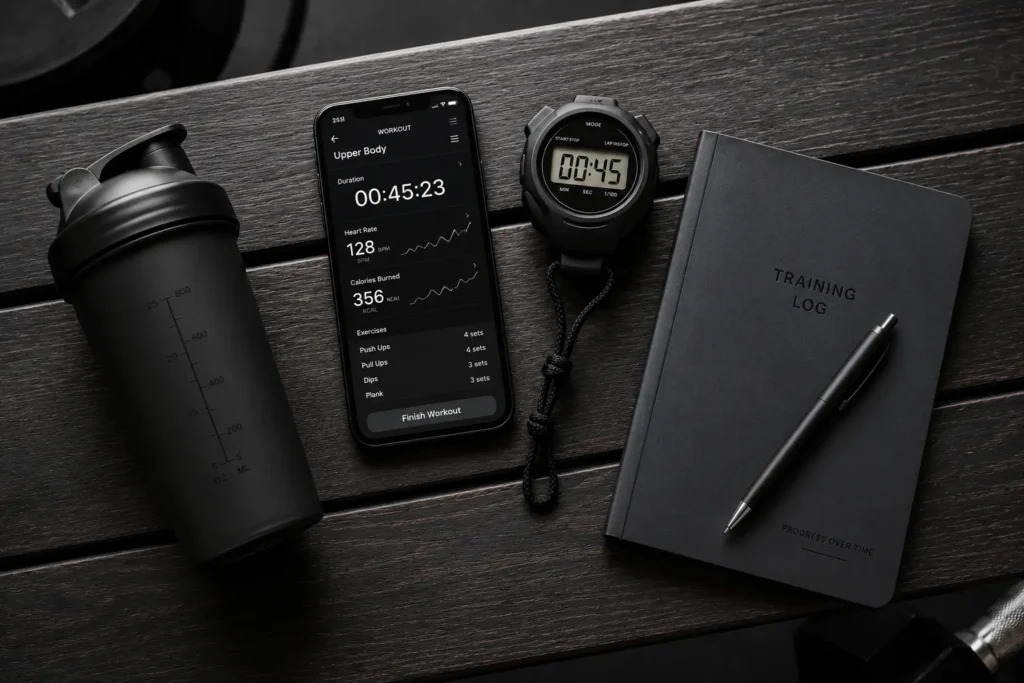
2. Perceived Effort (or % of Max Voluntary Contraction)
Rate how hard the hold felt on a 1–10 scale, or if you have access to a dynamometer, log the percentage of your maximum voluntary contraction you’re working at. This matters because two holds of the same duration can represent very different training stimuli if the effort level differs.
3. Joint Angle Consistency
Isometric strength gains are highly specific to the exact joint angle trained — research on this is clear that strength built at a 90-degree knee angle doesn’t transfer fully to a 60-degree angle. Logging the approximate angle (or at minimum, a consistent visual reference like a photo) keeps your comparisons meaningful over time.
4. Force Output (If You Have a Way to Measure It)
A hand dynamometer, a resistance band with a scale attachment, or even a bathroom scale pressed against a wall can give you an actual force number for certain holds. This is the most precise of the four metrics, but also the least accessible without extra equipment.
How to Test Your Isometric Strength Without a Lab
You don’t need a lab or a physical therapist’s equipment to track isometric training progress with a genuinely useful baseline test.
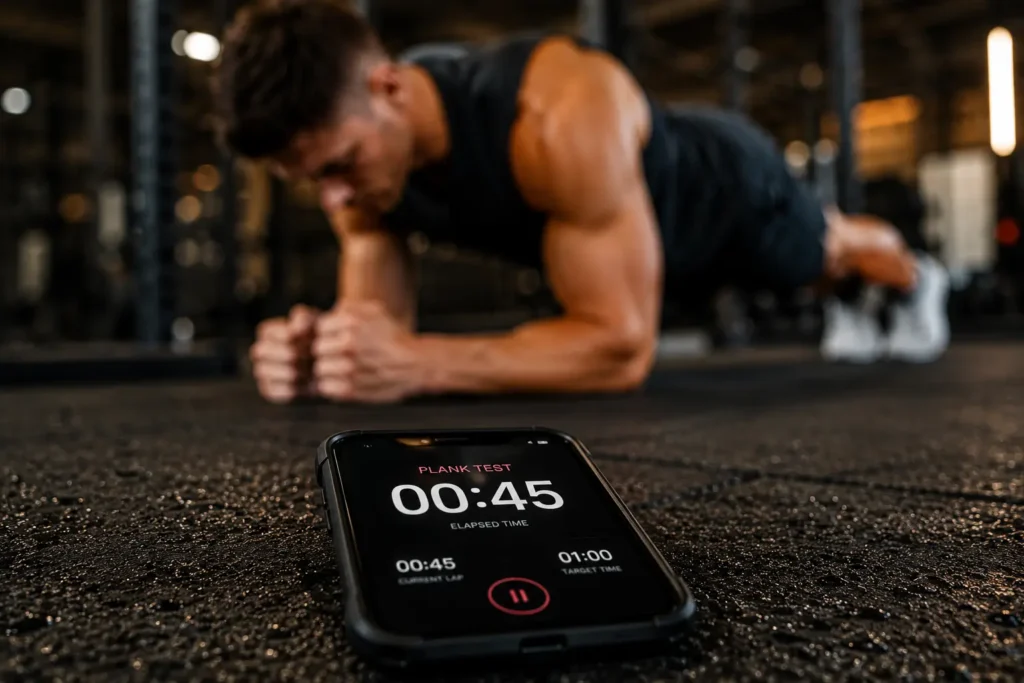
Pick one hold to standardize on. A wall sit at 90 degrees or a plank are the easiest to replicate consistently.
Warm up for 3–5 minutes with light movement to avoid an artificially weak first test.
Hold to failure, timed. Stop the clock the moment your form breaks down — not when it becomes uncomfortable, but when the position actually changes.
Rate your effort immediately after, using a 1–10 scale while the sensation is still fresh in your mind.
Record the date, hold time, and effort rating together. This three-part entry is your actual data point — a hold time alone, without the effort rating, tells you far less.
Best Isometric Exercises for Lifters (and How to Track Isometric Training Progress for Each One)
| Exercise | What to Track | Notes |
|---|---|---|
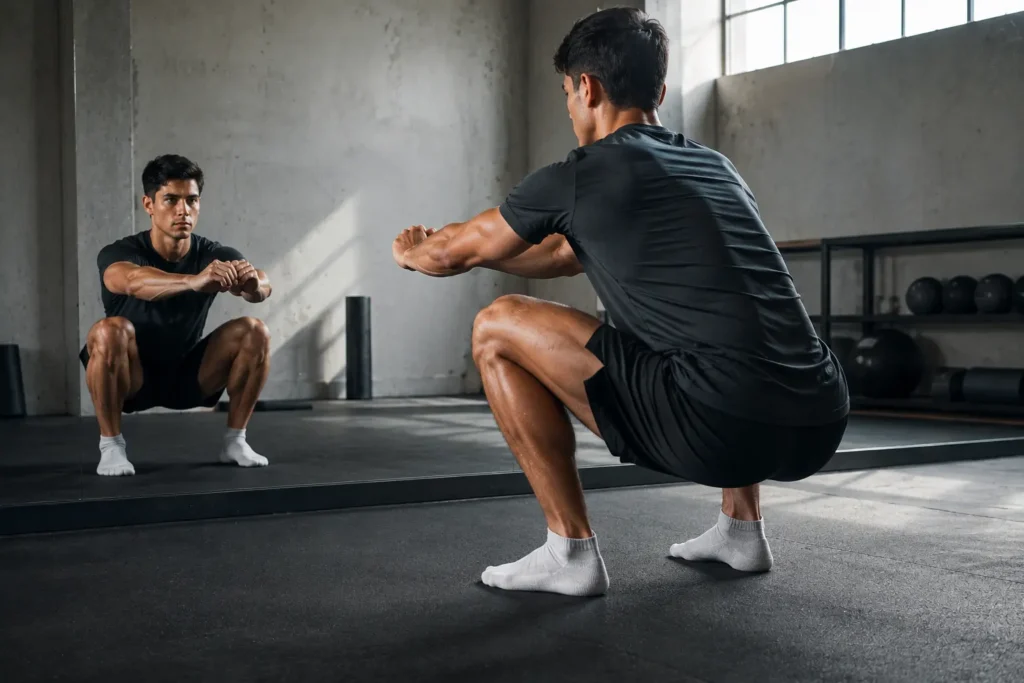
| Wall sit | Hold time, thigh angle | Keep angle consistent (90° is standard) |
| Plank | Hold time | Watch for hip sag as your true failure point |
| Isometric squat hold | Hold time, depth | Log depth as a photo reference if possible |
| Dead hang | Hold time | Already covered in our grip strength training guide |
| Pallof press hold | Hold time per side, band tension | Track band color/tension as your “load” |
Notice that the dead hang appears here too — it’s technically an isometric exercise, which means if you’re already tracking grip strength, you’ve been tracking isometric training progress without necessarily calling it that.
My Own Test: 6 Weeks Tracking Isometric Training Progress
I picked a 90-degree wall sit as my standardized test and ran it every Sunday for six weeks, logging hold time, effort rating, and a quick note on how my legs felt. Week 1 was rough: 38 seconds, rated a 9 out of 10 effort, legs shaking by the end.
By week 3, the hold time had only crept up to 44 seconds — a small, almost disappointing jump on paper. But the effort rating told a different story: that same 44-second hold felt like a 7 out of 10, not a 9. Without logging effort alongside time, I would have looked at a 6-second improvement and assumed progress had basically stalled. It hadn’t — my capacity had genuinely improved, it just wasn’t showing up purely in the duration number yet.
By week 6, I hit 58 seconds at what I rated a 7, meaning the strength gain had finally caught up to a visible time improvement too. The biggest lesson from six weeks of this: if I’d only tracked hold time, I would have quit around week 3 thinking the training wasn’t working, when the effort data clearly showed real progress happening under the surface.
Common Mistakes When You Track Isometric Training Progress
These mistakes are what turn genuinely useful data into a confusing mess that makes real progress look invisible.
- Tracking hold time alone. As my own test showed, duration without effort context can make real progress look like a plateau.
- Changing the joint angle without noting it. A wall sit at 80 degrees one week and 100 degrees the next isn’t a fair comparison, even if the muscle group is the same.
- Testing to genuine failure every single week. This adds unnecessary fatigue; testing every 2–3 weeks with normal training sessions in between is usually sufficient.
- Ignoring the exercises you’re already doing isometrically. Dead hangs, loaded carries at a pause, and even the top of a deadlift lockout all have isometric components worth logging.
- Comparing your numbers to someone else’s. Hold time depends heavily on body proportions and leverage, so your own trend matters far more than any external benchmark.
How Often Should You Test to Track Isometric Training Progress?
Test your standardized hold every 2–3 weeks, and use lighter, non-maximal isometric work in the sessions between tests. Testing to true failure every single session adds fatigue without adding useful data, since isometric strength doesn’t typically shift meaningfully week to week.
This cadence mirrors the same principle used to track progressive overload on your main lifts — frequent enough to catch real trends, infrequent enough to avoid mistaking noise for signal.
Why Bothering to Track Isometric Training Progress Is Worth It
It would be easy to conclude that isometric training is too messy to bother measuring and just do it on feel. That’s exactly the trap that causes most people to quit, because “on feel” is precisely how my own six-week test would have looked like a plateau at week 3, when the data showed otherwise.
The extra few seconds it takes to log a hold time and an effort rating is a tiny cost compared to the value of actually knowing whether a training method is working. Once you have even three or four data points to track isometric training progress against, patterns that were completely invisible session-to-session become obvious — and that clarity is usually the difference between sticking with a method long enough to see results and abandoning it right before it would have paid off.
Frequently Asked Questions About Tracking Isometric Training Progress
What’s the single best metric to track isometric training progress?
Hold time combined with a perceived effort rating gives the most useful picture for most people, since hold time alone can hide real strength gains that haven’t yet translated into a longer duration.
How long should I hold an isometric exercise to build strength?
Research generally shows holds of 10–45 seconds at high effort (70%+ of maximum contraction) are effective for building strength, while longer, lower-effort holds tend to build more muscular endurance than raw strength.
Can I use a smartwatch to track isometric training?
Not directly for the hold itself, since most watches are built around motion detection, which isometric exercise lacks by definition. A simple stopwatch or your phone’s timer is genuinely more reliable for this specific purpose.
Does isometric training build muscle, or just strength?
Both, depending on the approach. Holds at longer muscle lengths with high effort tend to produce meaningful hypertrophy alongside strength gains, while very brief or low-effort holds lean more toward strength and endurance than size.
How does joint angle affect isometric training progress?
Strength gains from isometric training are largely specific to the joint angle trained, so testing and training at a consistent angle each session is essential for your data to actually reflect progress rather than a different exercise entirely.
Should beginners track isometric training differently than advanced lifters?
The core method stays the same, but beginners typically see faster early hold-time improvements, while advanced lifters should lean more heavily on the effort-rating metric, since their hold times often plateau even as underlying strength keeps improving.
Can isometric training replace regular strength training?
Not entirely — isometric training builds strength effectively at the specific angle trained, but doesn’t build strength through a full range of motion the way dynamic lifts do, so it works best as a complement rather than a full replacement.
Final Thoughts on Tracking Isometric Training Progress
Isometric training doesn’t hand you a number the way a heavier squat does, but that doesn’t mean the progress isn’t real or trackable — it just requires a different set of metrics than the ones you’re used to. Hold time, effort, joint angle, and force output together tell a far more accurate story than any single number alone.
Start today: pick one isometric hold, test it once with a timer and an honest effort rating, and write both numbers down. In three weeks, test again — that comparison is the actual beginning of learning how to track isometric training progress the right way.